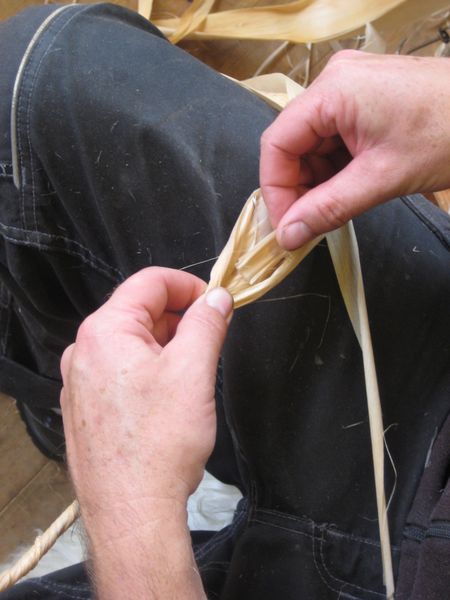
Like most craftwork, laying rope is simple in theory but requires a real mastery of the technique in practice. The concept is much the same as spinning wool. The strips of bast which had been harvested, retted and dried are ca. 1m long and 8-10cm wide. Carsten’s first step was to divide them into narrower strips of just ca. 1cm wide. He took a small handful of these strips and wrapped them around one of the arms of the wooden frame (<link https: instagram.com p external-link-new-window external link in new>see here) and then began spinning the bast in an overhand motion, away from his body with his right hand, while stabilising the twist with his left (<link https: instagram.com p external-link-new-window external link in new>see here). He continued with this process, inserting new strips of bast when needed, until the cord has the required length. The cord was then given a coating of ox fat and left to its own devices over the weekend.
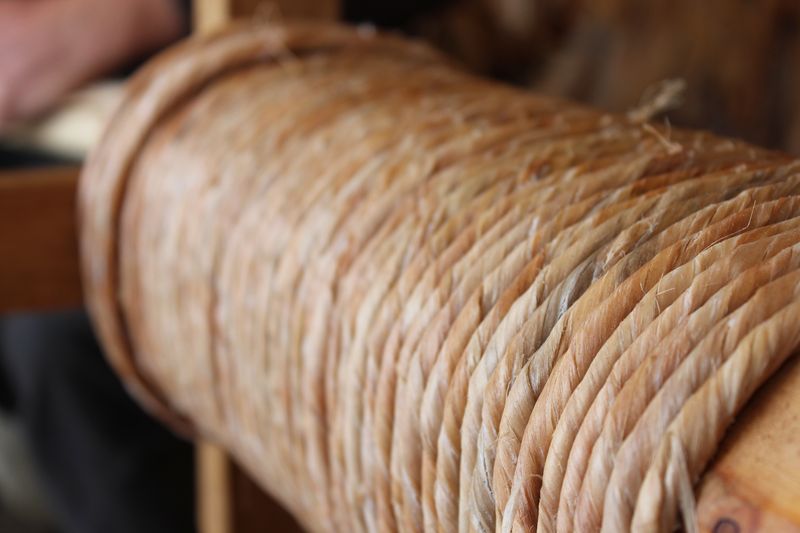
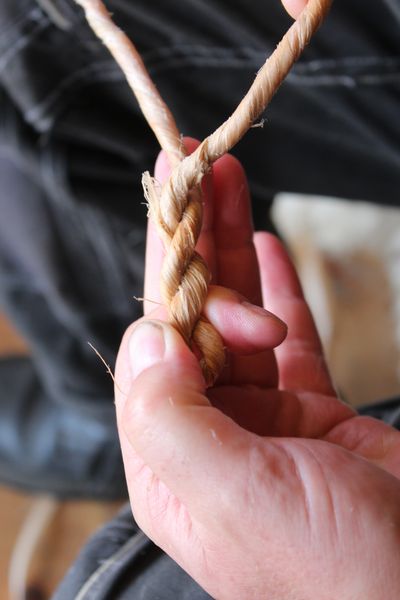
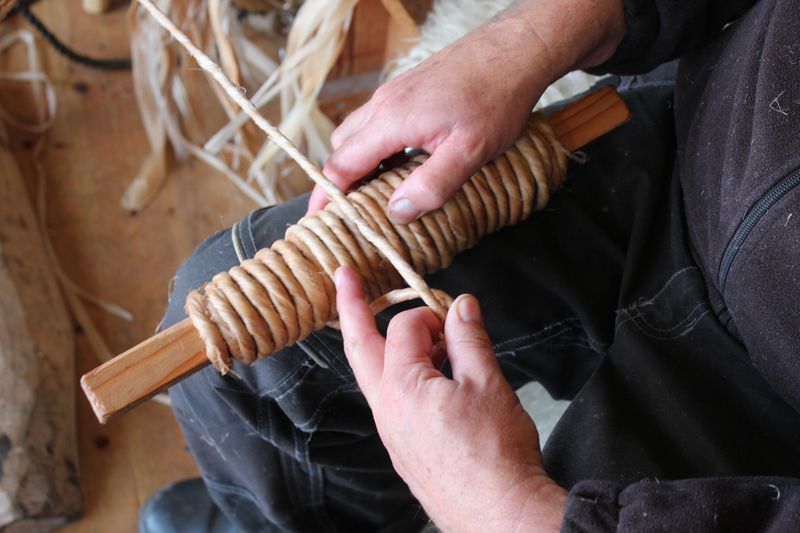
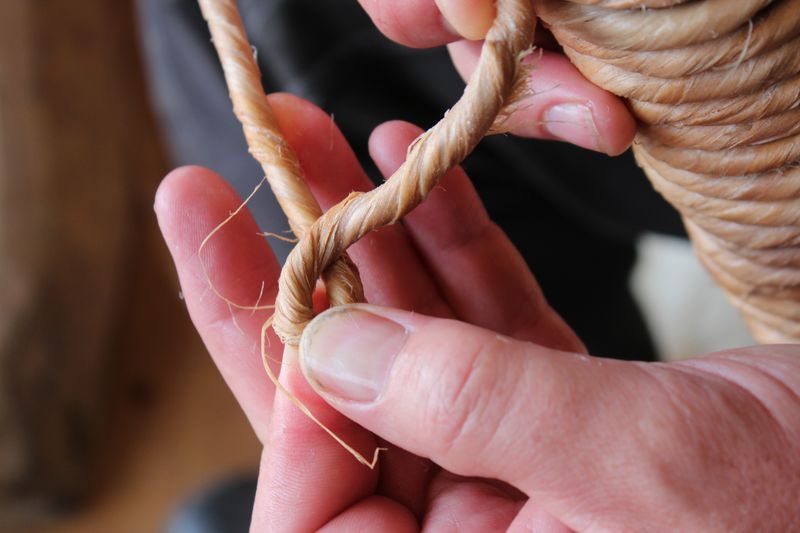
Fast forward to Monday morning and it was time to finish the forestay. This would involve increasing the thickness of the rope, from 1 to 3 ply. First, Carsten began by winding two-thirds of the cord onto a short length of wood. Once this was done, he carefully twisted the cord 2-3 times, which causes it to wind back around itself. This is the start of the 2-ply phase. He then began laying the rope by passing the length of wood with the ‘second’ cord under and over the first cord (still attached to the wooden frame), laying the second cord around the first. It’s important not to twist the second cord as it is laid alongside the first – if he doesn’t hold it parallel, it will result in a lumpy and uneven rope.
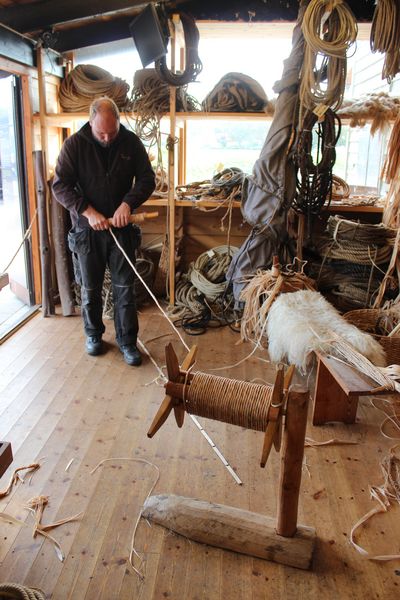
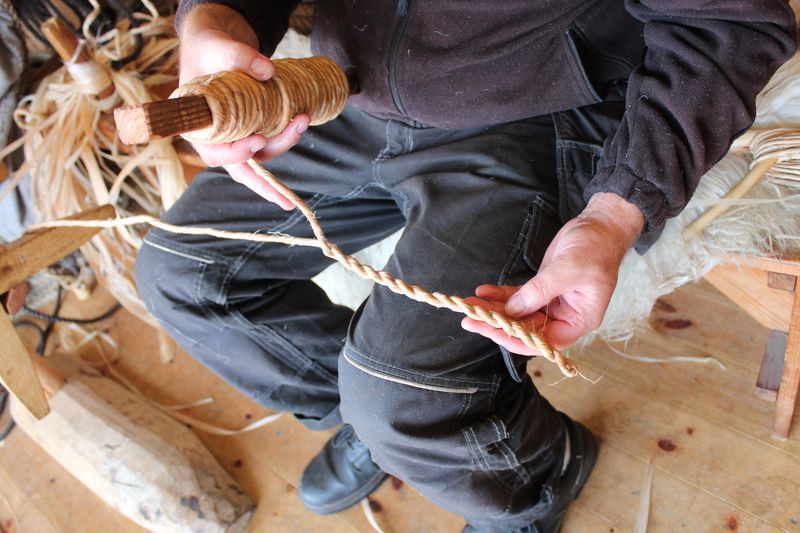
There is no need to hold on to the finished 2-ply end – the twist in the cord automatically locks in on itself, so there’s no risk of it unravelling as you work further. The finished end is simply laid on the floor beside him as he works. And I can tell you, he works quickly. His movements are extremely fluid and quick. The rope almost seems to flow from his hands as he works and the nuances in careful, measured movements of his hands can only really be appreciated when I (repeatedly, and no doubt, annoyingly…) ask him to slow it down so I can photograph it.
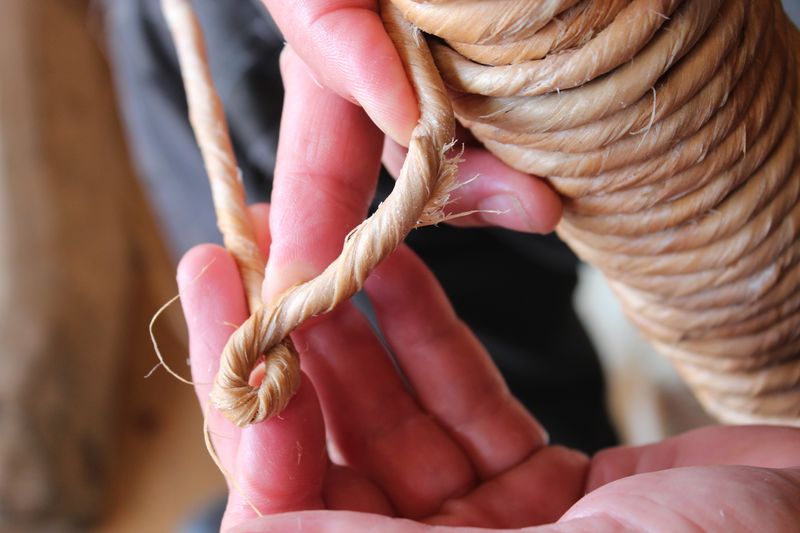
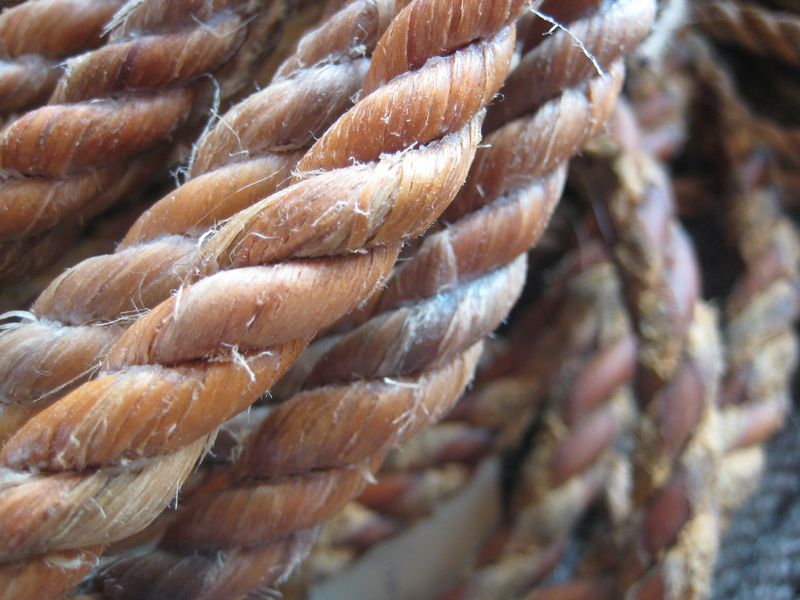
After roughly an hour, the 2-ply cord is complete and he’s ready to move on to the next stage: making the eye splice. Stay tuned…